Mobile Control Kitchen Cabinet LED Strip (And Pi Giveaway Winners)
Published on: November 9, 2019
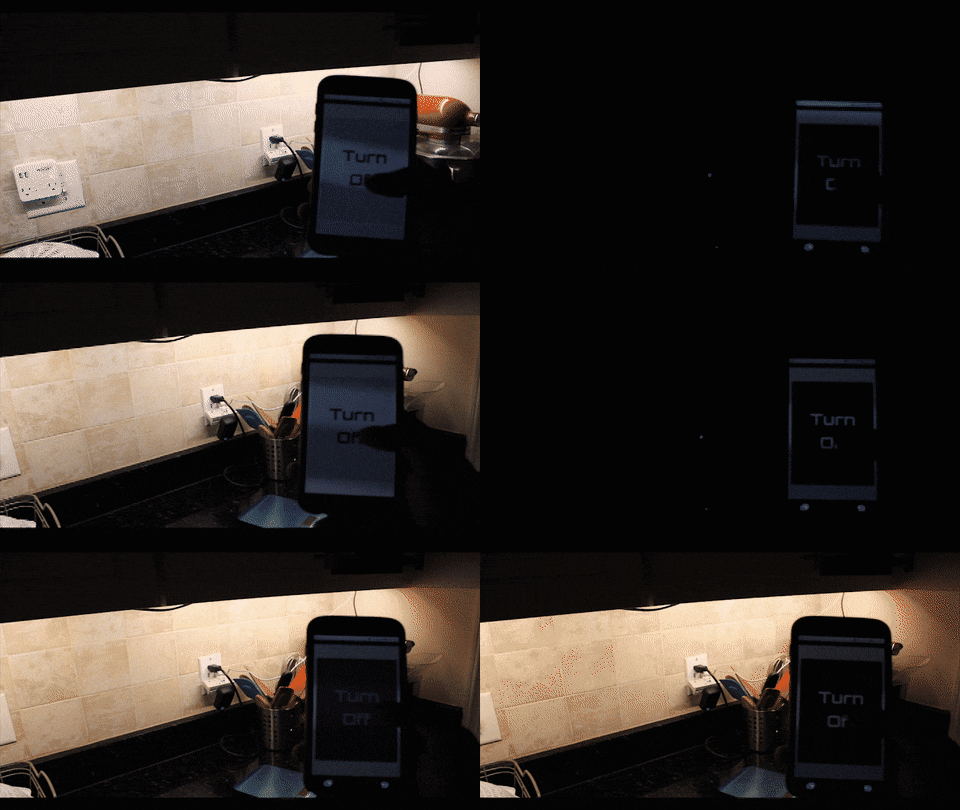
Welcome to the 12th Raspberry Pi Tutorial! In today's tutorial, we'll learn how to control an LED strip using a Raspberry Pi and Relay module. We'll also use what we learned previously to control our lights remotely from a browser. The end product for me is some kitchen cabinet lights that I can control through my phone. Your product may be different and the goal is to get you to understand the basics of how my setup was done. A lot of what we cover today is similar to the tutorial titled Control an LED from your browser - we'll just be adding a relay.
You can find the code and more detailed technical information in the following GitHub repo: https://github.com/naztronaut/raspberryPi-control-led-strip
Here's a quick demo of what the end product looks like:

Let's talk hardware:
You'll need the following pieces of hardware for this project (get more inf in the Github repo):
- Raspberry Pi - any will work for this project (need a wifi dongle if you're using a Pi Zero 1.3 like I am)
- LED Strip - Only single color LED
- Relay - can use a relay module to make it easier for yourself
- Some wires
- Power supply for your Pi and Lights
A relay is pretty simple to understand. There are a lot of resources online that can give you more details but the gist of it is that it is an electromechanical switch. It lets you connect or disconnect a circuit based on a signal that it receives. In our case, the relay lies between a cut in the power line of our LED strip. It doesn't matter whether you cut the power or ground lines, you just need a break. The diagram below uses a generic LED but the idea is the same for an LED strip because a single color strip only has power and ground connections.
Our Pi will then send a signal to either connect or disconnect. Since our Pi can only send digital signals, it'll send either a 1 for on or 0 for off. Pretty simple right?
Refer to the diagram below for a simple explanation of the circuit. First connect the Pi to the relay. You need to send it Power (red write from the Pi), Ground (black wire from the Pi), and a Data Pin (Blue wire from GPIO Pin 18). You can use any GPIO pin you'd like, just make sure you edit the software as needed.
For the power, send voltage straight to the LED Anode (+) and instead of connecting the ground to Cathode (-) directly, make a break and send it through the relay. As stated above, it doesn't matter which line you cut, you can flip this and do the Anode if you'd like. We just need to be able to control the power through our relay. And make sure you know whether or not your connection is always open or always closed. In the diagram below, I set the connection to 'always open' so that when my Pi sends the relay a signal of 1, it closes the circuit.

The above diagram also assumes you are sending power to the lights through the disappearing connections on the right. Again, I didn't do the best with the diagram, if anyone wants to make me a better one, feel free to send it to me!
Let's talk Software:
You can use the repository above as-is. Since I'm continuously working on the project, you may see things change here and there. I would highly recommend going through the repository steps and without repeating my old tutorials, please make sure you have the following done on your pi:
- Headless Raspberry Pi
- Using the RPi.GPIO library to turn on an LED
- Run Apache on your Pi
- Running a Flask App on your Pi
- Run Flask behind Apache
- Simple AJAX with jQuery/JavaScript
The last one is optional since the repository gives you all the code. Once you have Apache and Flask Configured, go to the repository and clone it into your www folder as follows:
cd /var/www/html
git clone https://github.com/naztronaut/raspberryPi-control-led-strip
The directory will be called `raspberryPi-control-led-strip` but you can change to anything you'd like with:
mv raspberryPi-control-led-strip {{enter new name}}
In my project, I called my directory kitchenLights, so if you change it, look at the utils/apache-led.conf file and change the directory as you see fit.
Then follow the steps in Run Apache on your Pi and allow Apache to load your app.
The only other configuration change you need to make before you can start using your new lights is in the script.js file, the config object has three properties:
let config = {
    multi: true,
    kitchenRight: 'http://{{ip_addr}}',
    kitchenLeft: 'http://{{ip_addr}}' // Optional - only required if `multi` is true
};
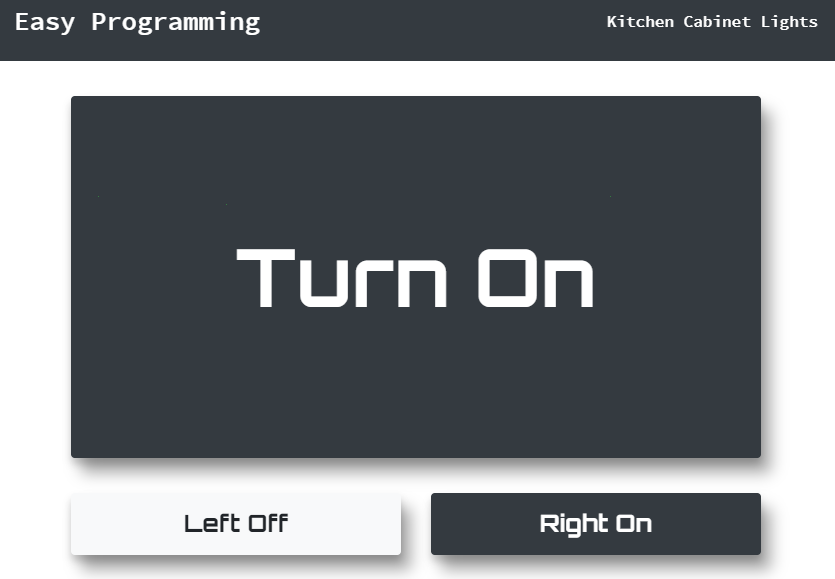
I have 2 Pis controlling different sections of my kitchen as shown in the video. So I allow you to optionally include a "left" Pi. You can turn off multi control by changing the multi property to false and only using the kitchenRight property. The script is also very simple so please feel free to edit as you see fit.
If all goes well, visiting your Pi's IP address on your browser should load something like this:

Again, find more technical info in the GitHub repo linked in several places on this page. If you have questions, contact me here, via the YouTube video comments, GitHub issues, twitter, reddit, etc. I am very responsive and will try to help as best as I can! I hope you learned something new today. Without further ado, here are the details for the previous contest.
Contest Info:
Thanks to all who entered the fourth Raspberry Pi giveaway! Due to a price increase of the Pi Zero W, this will be my last giveaway for a while, but don't fret, I'll be back with more as soon as the price goes down and if they don't, I'll just start giving away the more expensive models (less frequently but still).
Congratulations to the two winners below. Winners were picked using the Winner Picker script.
The winners are:
- Raven05R6
- greenmachineonlean
Thank you all again! If you have any questions, please ask below!
Remember to checkout the Resources section below for associated downloadable content, JSFiddle links, and other resources. Watch the video and follow along!
Resources:
Get everything in the GitHub repo here: Raspberry Pi - Browser Control LED Strip with Relay
